About Lineflex
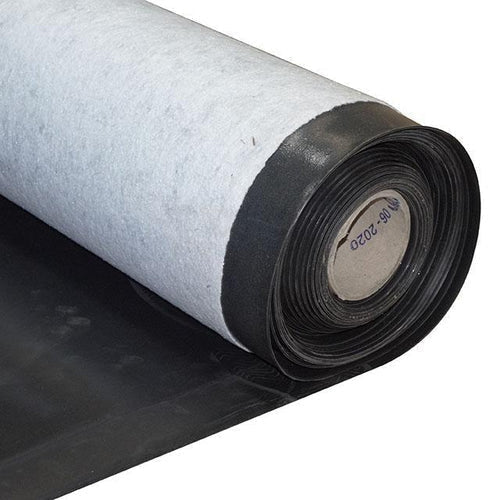
EPDM rubber roofing is no longer a mysterious new product to the building and construction trade, establishing itself as one of the leading solutions for flat roofs. Offering a great lifespan, and easy installation, it has become a favourite among installers and DIY enthusiasts alike.
However there has been a problem that has plagued the single ply silver bullet solution.
Refurbishment. When faced with a tiring roof be it Fibreglass, Felt or otherwise, Standard EPDM usually requires quite a lot of work to be carried out to install, normally entailing removing all the existing material and reboarding the roof to enable the new roof to be installed.
This is where Lineflex EPDM steps up, steps in, and offers a solution.
Due to its tough polyester fleece back it is able to be adhered to a range of roofing materials, making refurbishment and renewing a lot less hassle.
Another benefit the line flex has over its closest family member is its utilisation of heat welded joins. Which is a much stronger and more reliable than your standard taped joins, which can be done with a heat gun in most weather conditions which translates to a longer lasting finish you can be confident in.
Features of Lineflex
Can be adhered to;
- Timber
- Felt
- Asphalt
- Concrete
- Fibre Glass
Benefits:
- Puncture Resistant
- Smooth, Wrinkle free Finish with no creases
- Hides imperfections
- Great Adhesion
- User Friendly Roll size
- Easy to weld Joins
- 50 Year Life Expectancy
- 20 Year Warranty
Available in two membrane thicknesses;
-2.0mm
-2.3mm
What's needed for installation?
Main Materials
The must haves to be able to install Lineflex EPDM rubber roofing, If you're missing any of these, it will be difficult if not impossible to install.
- Roll of Lineflex EPDM Backed membrane
- Lineflex Water based adhesive (sometimes referred to as WBA)
- Lineflex Primer
- Corner Adhesive
Tools
These are the hand tools you will need to install the Lineflex EPDM roofing, some of these you might already have at your disposal as most are very common.
- Rollers
Used to apply he water based adhesive to the main body of the roof, a quick and easy solution
- Paint Bushes
Used to apply adhesive to harder to reach spots and more detailed areas such as corners.
- Heavy duty Sheers / Scissors
Used for cutting the rubber to size, and at corners.
- Suitable Heat Gun
This is needed for heat welding the seams, joins and corners.
- Silicone Roller
Used for pressing at the edges and joins to get a neat secure seal.
- Penny Roller
Used at the corners to ensure a tight, neat seal and finish
- Soft Hand brush
Used for clearing any debris, an important part of the job to prevent any sharps from penetrating the membrane
Roof Edge Trims
The roof trims finish the edge of the roof, in a similar way to fascia or dry verge would for a pitched roof.
How many and which you need is going to change depending on the job, if the roof is free standing, has abutments, and the way you are planning the fall on the roof will all affect which Trims you need.
- Kerb/Edge Trim This is a high profile trim that prevents rain water from flowing off the edge of the roof helping to guide the water to you’re your gutter or desired drainage point.
- Gutter Trim This is a low profile trim that will allow water to run off into the gutter, without these on at least one side of the roof, or appropriate through roof drainage water will be trapped on the roof causing pounding which can be a serious problem for flat roofs, good drainage is essential when planning and constructing any flat roof.
- Corners Simply put these will join the gutter and kerb trims at the corners of the roof, there are internal and external corners available, and gutter and kerb corners depending on your scenario.

